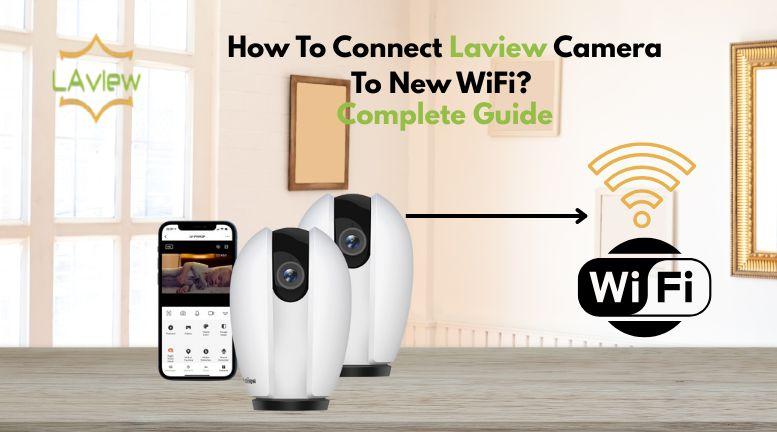
If you have changed your internet provider or router, then you have to reconnect your camera. These instructions provide a detailed guide on how to connect Laview camera to new WiFi, thus enabling you to see live without any problems apart from that.
Why Is It Necessary Reconnect
LaView cameras require a robust Wi-Fi connection. The change in the network will lead to the camera not connecting automatically and hence the manual setup will be needed.
Steps: Connect Laview Camera to New WiFi
1. Power On the Camera
Verify that your LaView camera or NVR is connected to power and is turned on.
2. Open LaView App & Laview Login
Launch the LaView app on your mobile device. Conduct Laview login using the credentials (email and password) used during registration.
3. Remove Old WiFi Settings
In Device Settings, locate your camera. Depending on your model, select either Reset Network or Change WiFi.
4. Connect to New WiFi
Choose your new Wi-Fi network from the list and enter the correct password. During the setup, keep your smartphone close to the camera.
5. Scan QR Code / Sync Camera
The application may request you either to scan a QR code or to press the sync button on the camera to finish the pairing process.
If Camera Doesn’t Connect
- Ensure your Wi-Fi is on the 2.4GHz range (the majority of LaView cameras are not compatible with 5GHz).
- Reboot your router and camera.
- Verify the Wi-Fi password.
Factory Reset Option (For NVR Users)
- If everything fails, then factory reset Laview NVR has to be carried out:
- The reset button on the NVR must be pressed and held for 10-15 seconds.
- Re-add cameras and perform Wi-Fi setup from the beginning.
Final Words
It is very easy and quick to connect Laview camera to new wifi by adhering to these steps. The correct Laview login and the factory reset of the Laview nvr if needed, will bring your camera back to life for safe and smooth monitoring again.